Cleaning Up The Rack

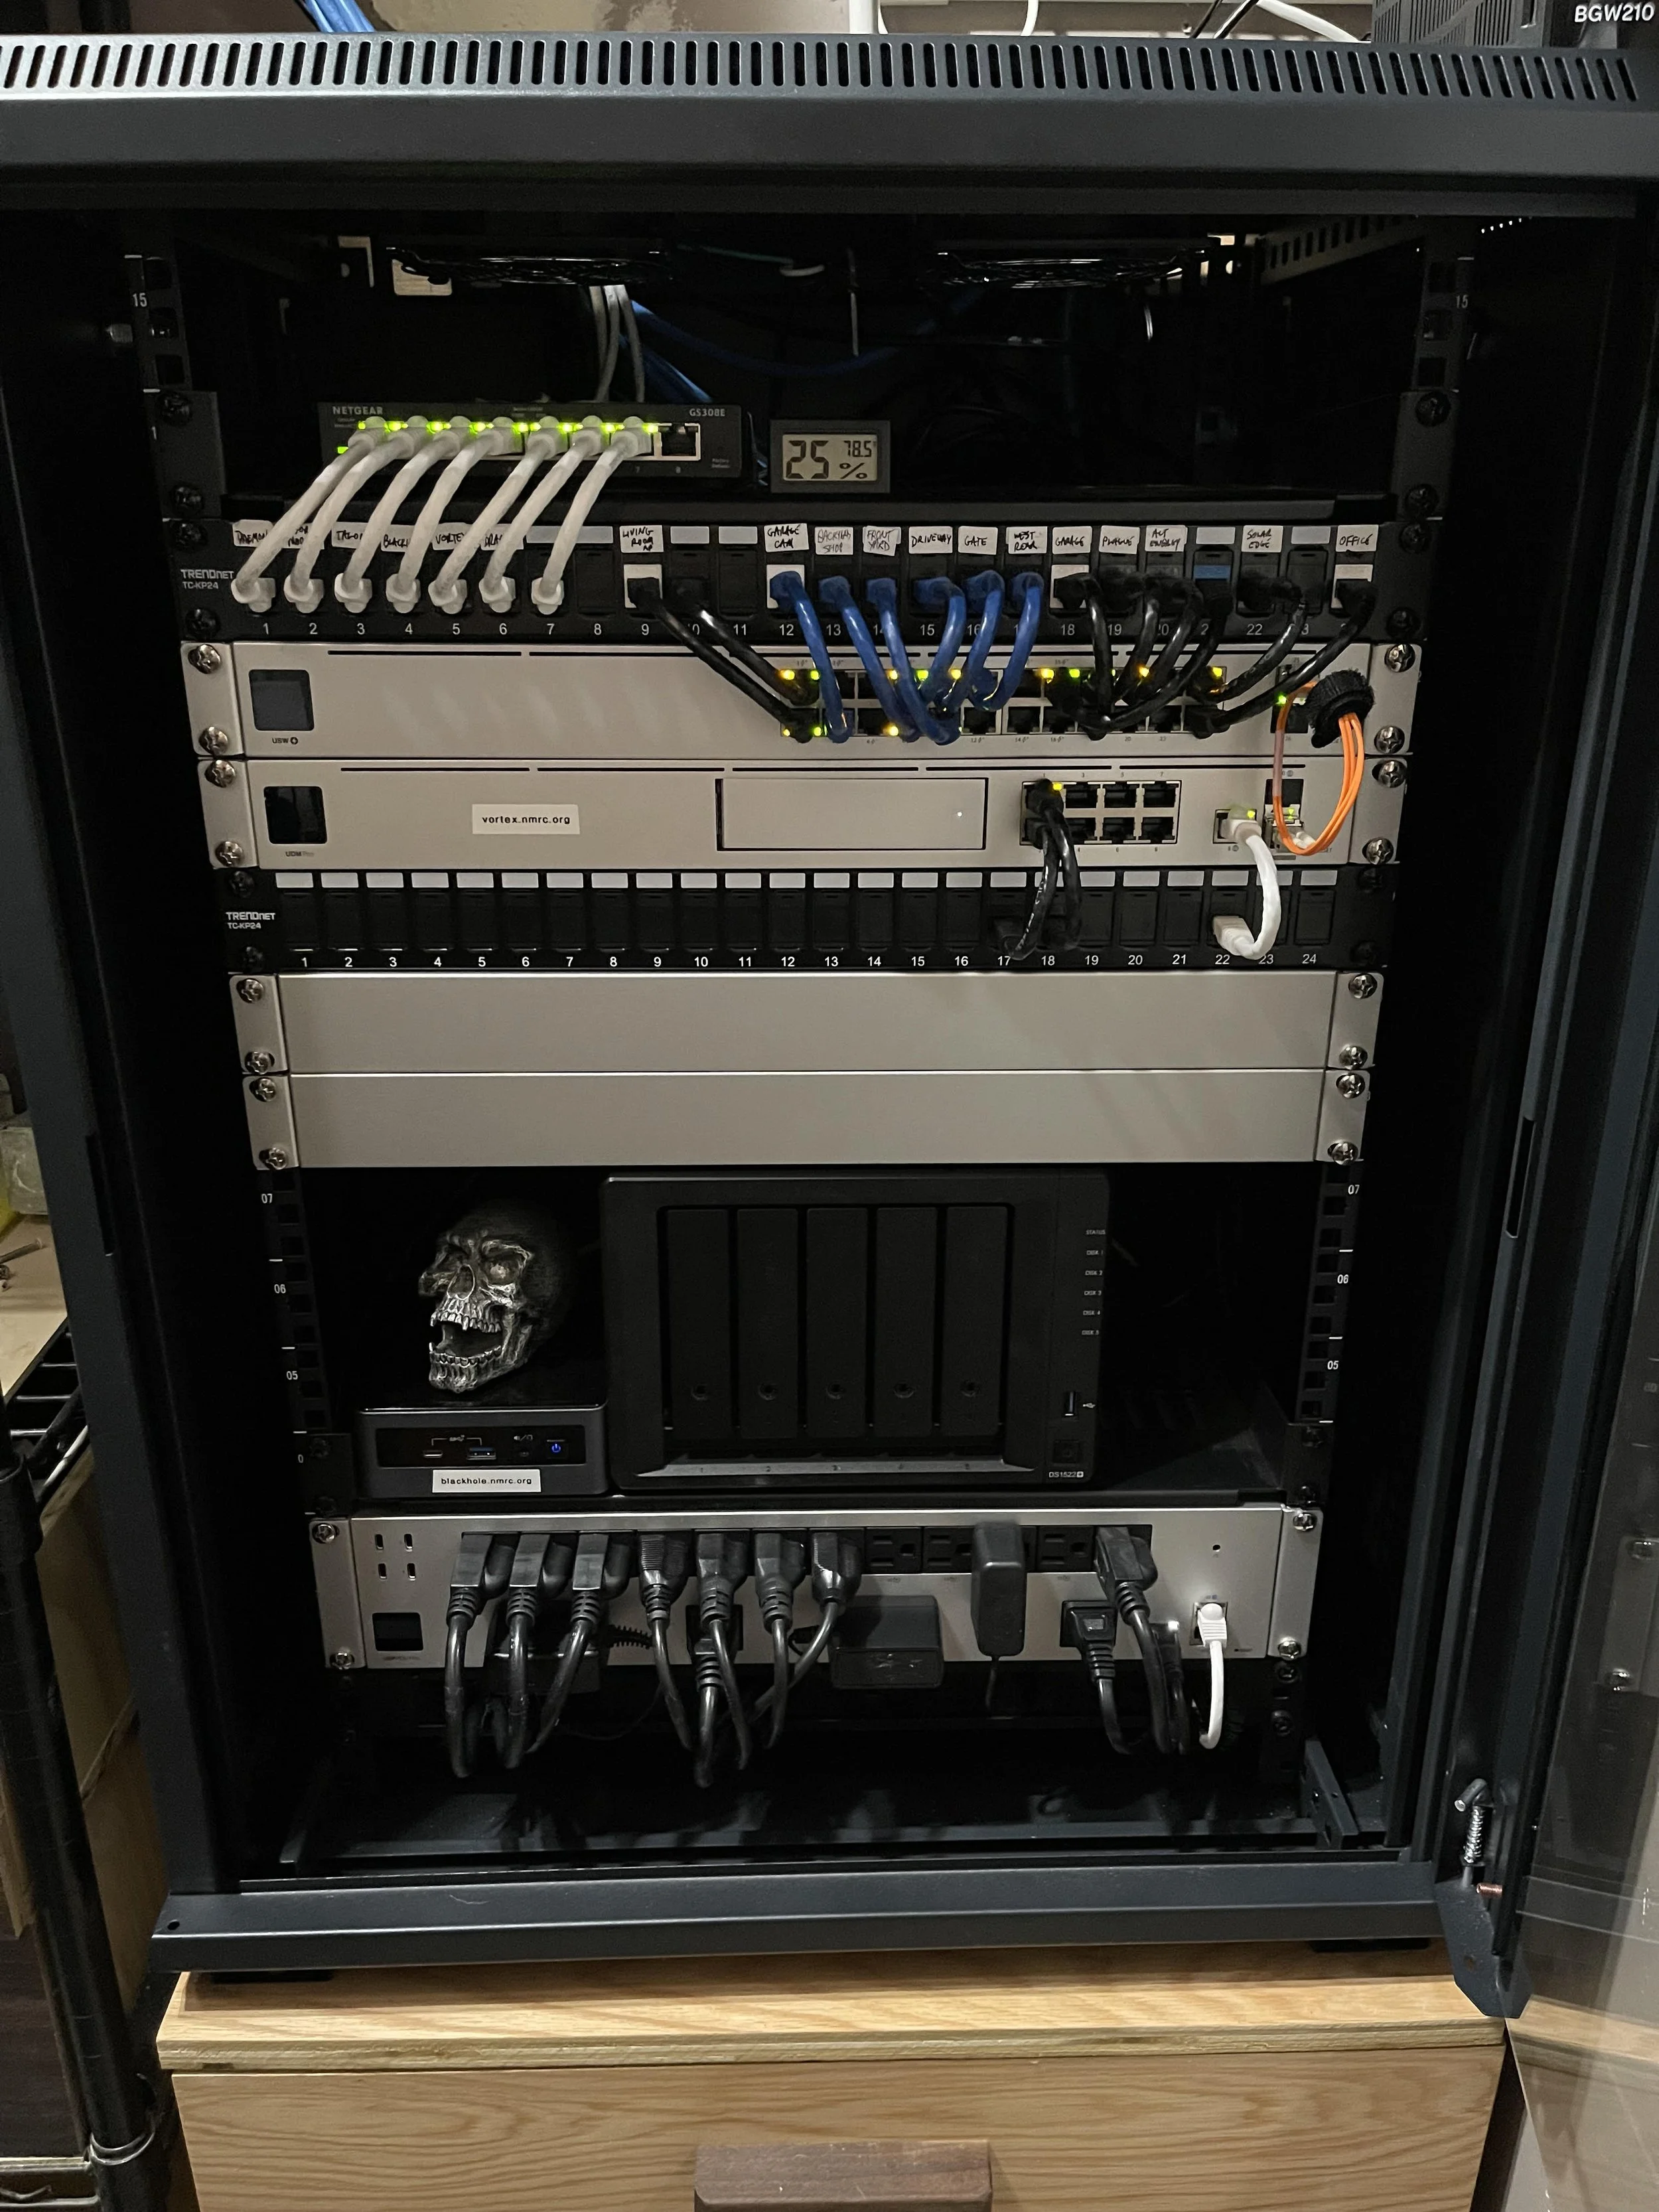
The sort-of-finished result. It will remain like this for at least a week until I probably change something, as there is room for expansion. On the temperature monitor it says 78.5F, which is a marked improvement (the 25% is humidity).
When building a home network setup, or “home lab” to use the popular term I see a lot online, there are often challenges. This latest revamp to address some of those challenges has been a multi-month project, and while it is still not done, it is much further along and at least presentable.
Reasons for the upgrade
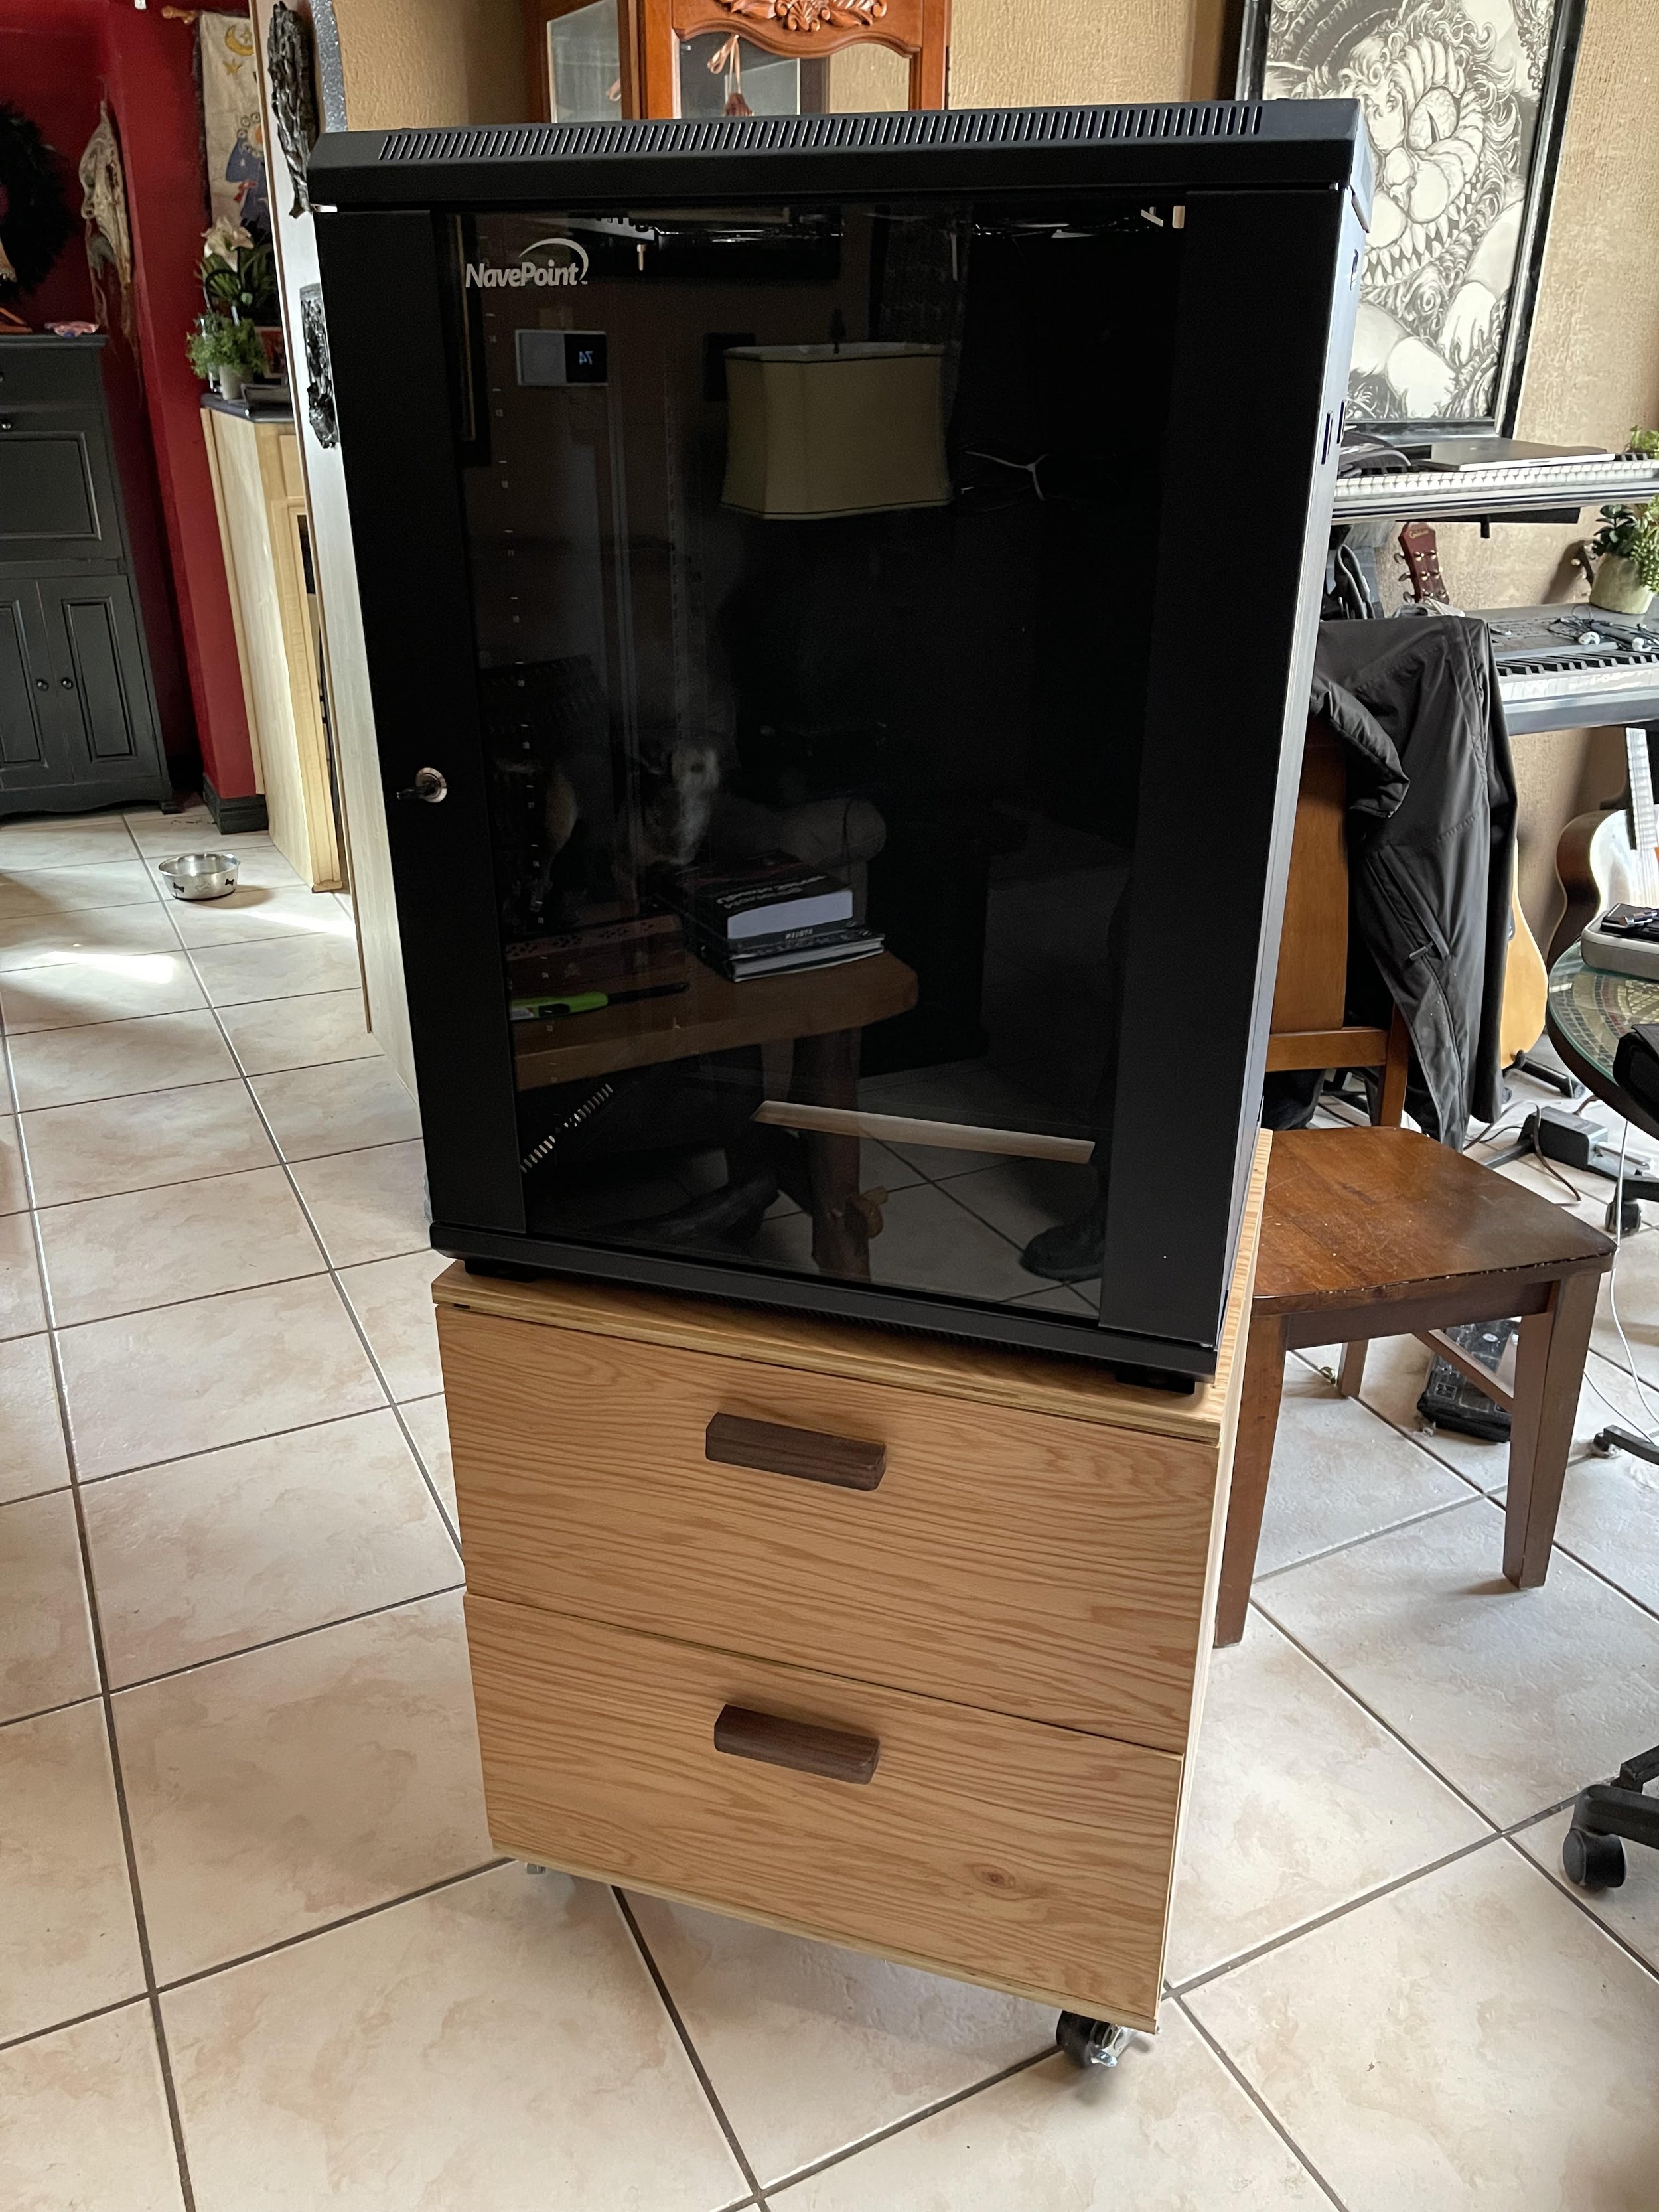
Networks grow as we add more devices, especially “smart” items, and for me it was looking like I needed a new rack. The old 6U rack quickly filled up, and I was in dire need of something new. The NavePoint rack is 15U, more than double the space of my old 6U rack. The 6U rack was wall-mounted and while I considered wall-mounting the NavePoint, I came to my senses and simply built a two-drawer cabinet on wheels so it is a bit more mobile. The new rack currently holds everything I need with a bit of room for expansion.
As I had way more stuff to get rack-mounted than I had space for, things would end up sitting on top or wall-mounted elsewhere. One of the two UPS units no longer functioned as a backup battery and had become a very heavy wall-mounted power strip. Part of my gear wasn’t even plugged into these batteries anyway as I had run out of outlets.
Another problem I had was one of temperature. The 6U rack ran a little warm, requiring a power-hungry window unit AC in this small server room to have to run a lot during the summer (its energy-efficient replacement has been purchased and is awaiting a Spring installation), so I was hoping for more controlled airflow in the rack. As you can see below in the “before” picture, things were a bit messy (yes I’m also redoing the walls, separate project).
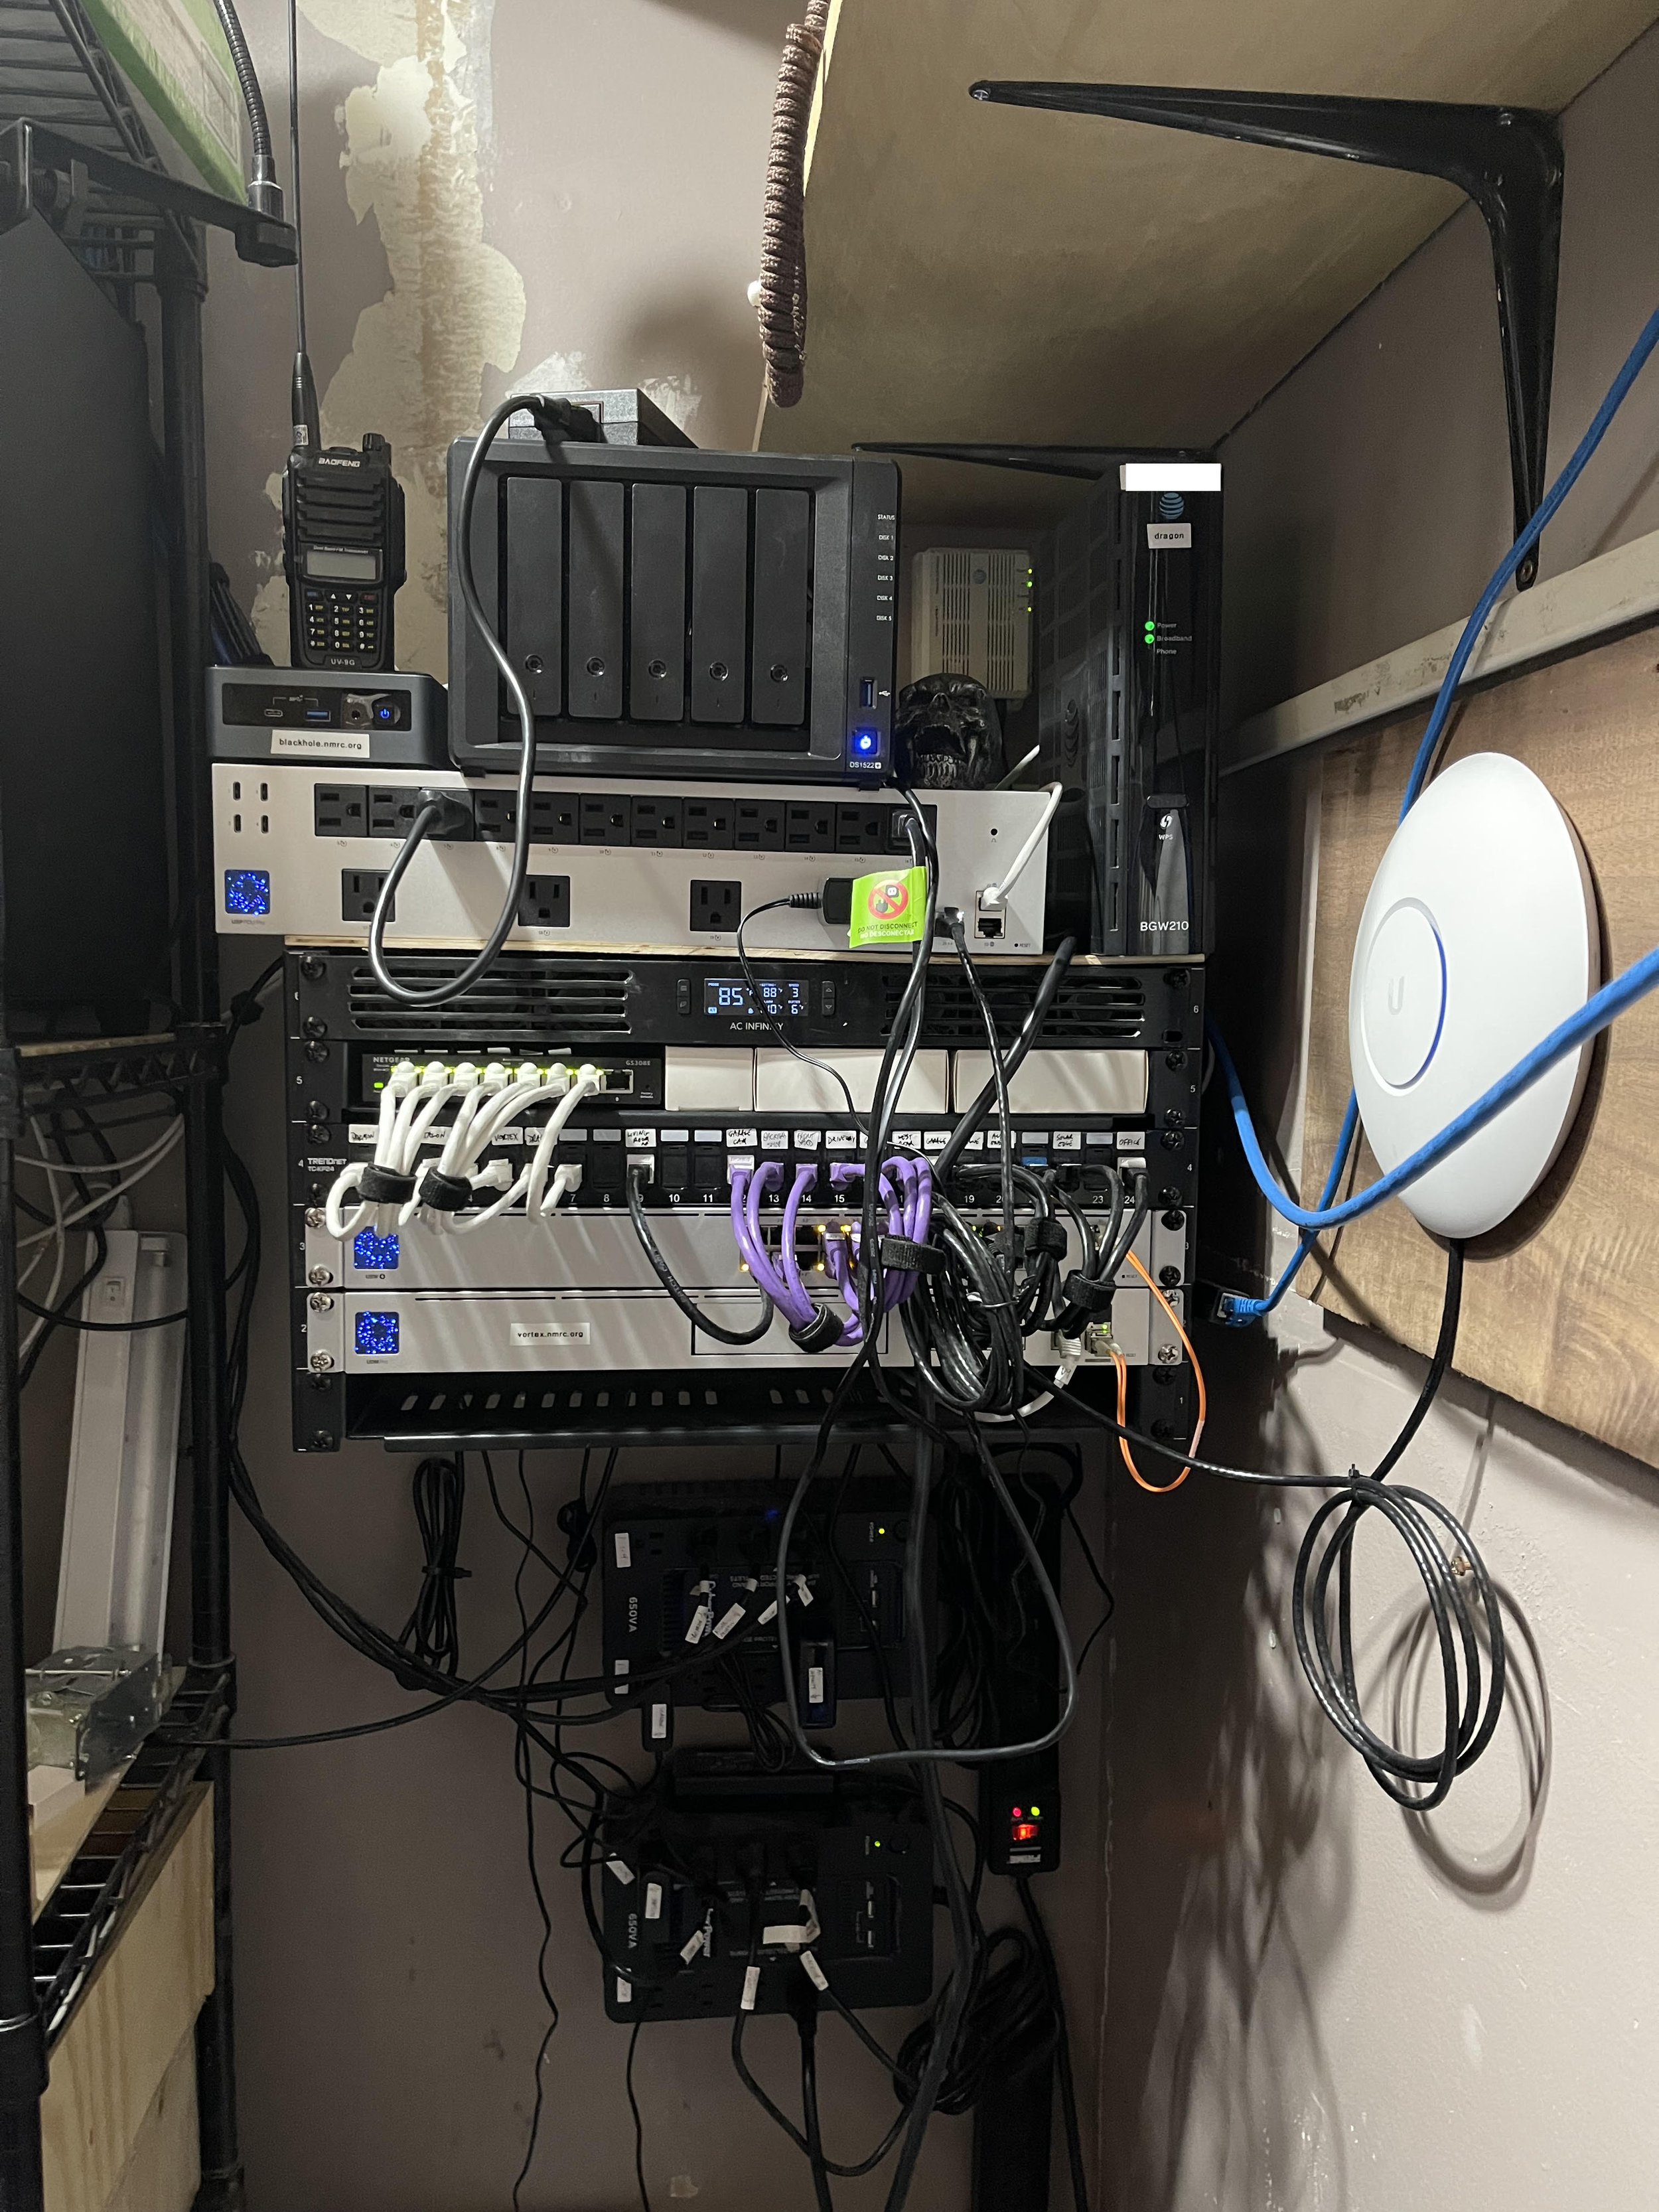
The “before” picture. Not very pretty. As new equipment was acquired, it was simply stacked in place. Note the temperature in the rack is 85F, and this picture was taken in January in a room with no heat. This was right before the move to the new rack.
The Wooden Cabinet
When I got the NavePoint assembled, I went out to the backyard workshop and used whatever wood, casters, and drawer slides I could find to put together a mobile base cabinet. This wooden cabinet solved another problem, which was one of storage. I had run out of storage room, but I knew I could move all of the Ethernet cabling and related accessories into the drawers and free up some of the storage space. I did try to pretty the cabinet up slightly (walnut drawer pulls!) but the real emphasis was on function over design. Its dimensions are 27 1/2” high (including the casters), 24” wide, and 19 1/2” deep. It took less than a day to build, with the bulk of the time involving waiting for the finish to dry.
Interesting Decisions
Here are a few interesting scenarios and decisions, in case you were wondering why things are the way they are.
The incoming fiber “modem” and the AT&T router were not going into the rack. Should a technician come out to service the fiber link, I can lock the NavePoint so there is no danger of the technician accidentally powering off a piece of equipment with their elbow or something on their tool belt (yes it has happened in the past). Additionally I will occasionally use the AT&T router’s built-in WiFi for testing from an “outside” system (such as a scan) and I was afraid being enclosed would impact the WiFi signal. So I purposely sized the wooden cabinet to have the top of the NavePoint at about the same height as the old 6U rack to get roughly the same WiFi connectivity from the AT&T router, and this allowed for slightly deeper drawers than I originally had planned as well.
The circuit that the rack is plugged into is one of the “critical load” circuits that are a part of the batteries that are powered by my solar panels (more on that here). Therefore I had elected not to replace or reuse the old UPS units. Not long after the batteries were installed, there was a power outage that killed grid access for about three hours. As the old gear was all tied into critical load circuits, my Internet connection stayed up with no glitches and not a peep out of the UPS units as they simply did not seem to notice. In fact, I was in a work Zoom call when the power went out and didn’t even know there was an outage until I saw an alert on my phone. So yeah, no UPS units needed.
The loop in the nine inch patch cables stuck out so far that the glass door on the NavePoint couldn’t close. So for a few days I simply left the door open until new six inch cables arrived. When I ordered the new ones, they did not have any six inch purple ones, so I used blue for those instead. The reasons for the colors? A visual reminder of what is what - white are public-facing systems, blue are cameras, and black is everything else.
The base cabinet holds a shitload of cables, keystones, cable termination bit and pieces, and pre-made Ethernet cables of different lengths and colors in two spacious drawers.
The Move
I knew the move would be tricky, so I had to make a list of steps. The first step was arguably the hardest one, which was to go through and label each existing Ethernet and power cable, and work out the order they’d need to be plugged back in. I had to map out the entire rack, deciding what would go where. During this time I was able to make a list of extra items needed, including the blank panels and a second patch panel.
The move needed to happen in the evening or preferably on a weekend so it did not impact my ability to work, and since I have public servers I wanted to minimize downtime anyway. I even considered things like where to put items as I pulled them out of the rack to make putting them back into the rack a little more orderly.
I had ordered a 1U brush panel for the power cables to come through and plug into the PDU, but when the old UPS that had become a brick-sized heavy power strip started randomly beeping for no reason, I elected to not wait until the brush panel came in and started my big move early as I was fearful of half my gear completely losing power.
It took about three hours, I was without Internet for maybe two hours, and it was fairly uneventful. That last hour involved tidying up the cables with velcro cable ties and other more “neatness” related steps. A second outage of about 15 minutes occurred after the brush panel came in and I had to unplug and replug in everything through it and into the PDU.
Conclusion
This level of detail, while many will see as possibly overkill, is certainly not. I cannot state how many times I have had some random problem over the last two and a half decades that required either tracing cables, figuring out what is plugged into where, and having to replace a failing piece of gear with minimal interruption. This is why I now have a clipboard with all of the physical cabling details written out on it. It helps whether I am troubleshooting, wanting to add something new, and most often simply setting up an experiment for security research purposes. This is the method to my madness.
At some point I will do a detailed blog post or maybe a video and take everyone on a tour of the server room. It’s tiny, but a lot of fun, and very productive. I highly recommend getting things as organized and as orderly as possible - it makes all the difference.