The Mastodon Migration

Cyberpunk mastodon migration, via dreamlike.art
In an upcoming blog, I’ll cover my upgrade of the network, specifically my public servers from towers to Intel NUCs. However one of them warrants its own blog post, mainly because of the difficulties I encountered, and others might find it useful. I’ve been on Mastodon since April 2022, and last November I set up my own instance which I detailed in a previous blog post. However the Mastodon server in question - rigor-mortis.nmrc.org - was going to get migrated to new hardware, and I was determined to make this happen as painless as possible. It turns out it wasn’t painless.
The new hardware was a System76 Meerkat, which is an Intel NUC. My reasoning behind moving this server (and two others) will be covered in this future blog post, but I opted to explain rigor-mortis in detail. I had to jump between different instructions on different websites to make this happen, so I thought I’d include every here in one place. Granted this is the Internet and it involves computers, so things may not work exactly the same for you as they did for me, but I’ll go over my steps as well as provide a list of my Internet sources for the different bits and pieces should you need to check them out yourself.
One other note, rigor-mortis functions as a web server, and houses my “extra domains” mail server which rarely get mail. Suffice to say my steps were done a bit differently than you might do yourself, but what follows worked for me. I’ll also note that this was the third attempt, and it was a relief when it worked.
The Base Operating System
The Meerkat has a 2TB drive, and I installed Ubuntu Server 22.04.3 LTS. The specs on the Meerkat (especially the processor) are pretty impressive:
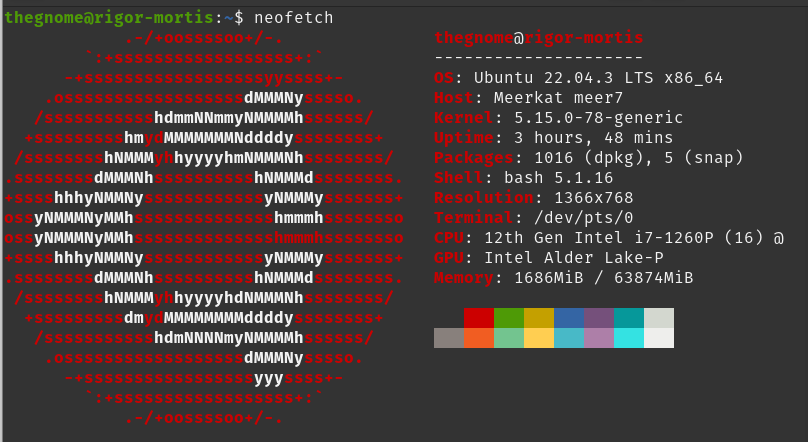
Neofetch porn.
I attached a monitor and keyboard, booted up off of a USB with Ubuntu Server 22.04 on it, installed the base operating system, gave it a static but private IP address so I could deal with it directly, and then left the Meerkat in the server room and continued the installation remotely. The first steps were fairly easy - I installed a few needed and preferred apps, and began slowly adding to things as I went along.
The ansible user was created and the static IP address was added to inventory so it was getting all of the patches and monitoring that everything else gets. Rsyslog was configured so all logging was getting sent to the logging server. The Duo Security product Duo Unix was loaded up, configured with the same settings as the old rigor-mortis, and tested to ensure it was working correctly. Nginx was next, and the various static websites from the old rigor-mortis were loaded up and tested. Certbot and the whole Let’s Encrypt thing was installed, as was Sendmail (and other mail-related services), then all of their data was copied over. At that point it was time to test things.
The first attempt, well I am not 100% sure what happened (possibly a weird configuration error) but both remote logging and Sendmail were not working properly. All of the config files between old rigor-mortis and new rigor-mortis seemed the same, however I was receiving multiple errors. Going through logs I noticed a lot of things weren’t working right, so instead of wasting time I opted to start over, and to go over things in more detail at every single step.
After the wipe and reload, I finally began to notice a few minor differences. It seems if you’re starting with lets say Ubuntu 18.04 a few years ago and upgraded in place up through 22.04, a config file might have a setting that is no longer used or the config file is in a new location. Therefore during the move from 18.04 to 22.04 the upgrade process handled the configuration migration, but if you loaded up a utility fresh on a 22.04 installation it just uses the new config file location and ignores the old one. A quick and somewhat harmless example: adding your timezone manually to /etc/timezone works fine on older versions of Ubuntu, but to change it on modern versions you need to use timedatectl to set it up properly else it will default to UTC. Now all of your timestamps on log entries are “wrong” and can throw you off during troubleshooting. Now imagine loading up multiple services, copying over config files and data, and expecting things to work when part of the settings are using defaults instead of the values you have inside of old config files. Attempt number two would test after each new component, and errors were corrected as they were encountered. Once the base OS was done, I started on Mastodon.
This second load with the first attempt on Mastodon did not work properly either. It seems that using the Ubuntu version of Postgresql was version 14 and Mastodon (and my existing data) was version 15, and I did not figure this out until much later after a failed Mastodon installation. However I did not know this at the time, and instead of trying to troubleshoot a massive amount of errors, I simply wiped and started reloading for the third time.
Finally, On To Mastodon (For Real)
I repeated the initial OS load, the various core apps, their configurations, and their testing. I finally started on my Mastodon install with the following plan:
Get Postgresql installed and working first, as it had the most errors.
Do a Mastodon installation but not the setup.
Copy over the Postgresql database, the main config file, and all of the user-generated data from the various user timelines.
Fire everything up and see if it works, fixing the minor items as needed.
It was during the first step with Postgresql I discovered the version 14 vs version 15 thing, which was the root cause of all the errors. I loaded Postgresql version 14 (the default with Ubuntu 22.04), and the old rigor-mortis was running Postgresql 15. After I removed 14, here is what I did to get Postgresql 15 properly installed (note I’ve su’d to root before running all of these commands):
echo "deb http://apt.postgresql.org/pub/repos/apt \
 jammy-pgdg main" >\
 /etc/apt/sources.list.d/pgdg.list

curl -s\
 http://apt.postgresql.org/pub/repos/apt/ACCC4CF8.asc\
 | tee /etc/apt/trusted.gpg.d/pgdg.asc

apt update

apt install postgresql postgresql-contrib
After checking to see if it was running, I noticed it was listening on port 5433 instead of 5432. After removing the old /etc/postgresql/14 directory structure and editing /etc/postgresql/15/main/postgresql.conf to fix the port number, I restarted it and all was fine.
Then came Mastodon, noting that the old Mastodon instance is running v4.0.8 and I’m su’d to root:
apt install ruby ruby-dev git

adduser mastodon --system --group \
 --disabled-login

git clone https://github.com/tootsuite/mastodon.git

mv mastodon/ /var/www/

chown mastodon:mastodon /var/www/mastodon/ -R

cd /var/www/mastodon/

sudo -u mastodon git checkout v4.0.8

gem install bundler

curl -sL https://deb.nodesource.com/setup_16.x\
 | bash -

apt install nodejs

echo "deb https://dl.yarnpkg.com/debian/ stable\
 main" | tee /etc/apt/sources.list.d/yarn.list

curl -sL https://dl.yarnpkg.com/debian/pubkey.gpg\
 | gpg --dearmor -o\
 /etc/apt/trusted.gpg.d/yarnpkg.gpg

apt update

apt install yarn redis-server optipng pngquant\
 jhead jpegoptim gifsicle nodejs imagemagick\
 ffmpeg libpq-dev libxml2-dev libxslt1-dev file\
 g++ libprotobuf-dev protobuf-compiler pkg-config\
 gcc autoconf bison build-essential libssl-dev\
 libyaml-dev libreadline6-dev zlib1g-dev\
 libncurses5-dev libffi-dev libgdbm-dev\
 libidn11-dev libicu-dev libjemalloc-dev

sudo -u mastodon bundle config deployment 'true'

sudo -u mastodon bundle config without \
 'development test'

sudo -u mastodon bundle install \
 -j$(getconf _NPROCESSORS_ONLN)
Normally this is where you run the command to rebuild Mastodon. But first we need to copy over a few things from the old server. After you’ve stopped Mastodon on the old server (via systemctl stop mastodon-*) you can begin copying. On my system, everything was stored in /var/www/mastodon so you’ll want to copy over the following data:
The /var/www/mastodon/.env.production file. Put it in the same location on the new server.
Everything in /var/www/mastodon/public/system/ including all of the sub-directories. This is where user data is such as content from their timelines. With even a few users, this could be a sizable amount of data and will take a while to copy it over. If it’s too big, you might have to plan ahead and dump everything to a separate portable drive, rsync if you have a fast connection on your local network, or something else.
Postgresql data. Yes you can go through the process of using pg_dump, but frankly I didn’t do that. I could not remember the password I used on the database for the Mastodon user, so I simply tar’d up and copied over everything under /var/lib/postgresql and it seemed much less complicated than dumping and restoring of the database anyway. Yes, it is sad I couldn’t remember the password which I did write down somewhere (which I’ll eventually find) but I was lazy and wanted to get this done quickly, and it worked anyway.
I copied over the /etc/systemd/system/mastodon-*.service files as I had tweaked them.
Once all of that data is copied over, you’re just about done. Run the following commands to compile Mastodon and rebuild all of the user timelines:
RAILS_ENV=production bundle exec rails \
 assets:precompile

RAILS_ENV=production ./bin/tootctl \
 feeds build
Then make sure your systemctl house is in order, and fire everything up:
systemctl enable mastodon-web

systemctl enable mastodon-streaming

systemctl enable mastodon-sidekiq

systemctl start mastodon-web

systemctl start mastodon-streaming

systemctl start mastodon-sidekiq
You should be up and running just fine at that point. Obviously you need to make sure any changes you need to DNS have been done, although in my case I simply edited /etc/netplan/00-installer-config.yaml on the old and new servers, did a netplan apply && reboot, then swapped network cables. After the systems started up I began testing. And by having the old rigor-mortis up and running if there was something I forgot or needed to tweak I had the old server and its data as reference.
One last thing I did was tweak things to increase the toot size as I had done that before on the old server. I won’t belabor the point here, if you wish to be able to toot longer than 500 characters, check out the blog post on the topic I have listed below. I was able to follow its instructions step by step with no alterations.
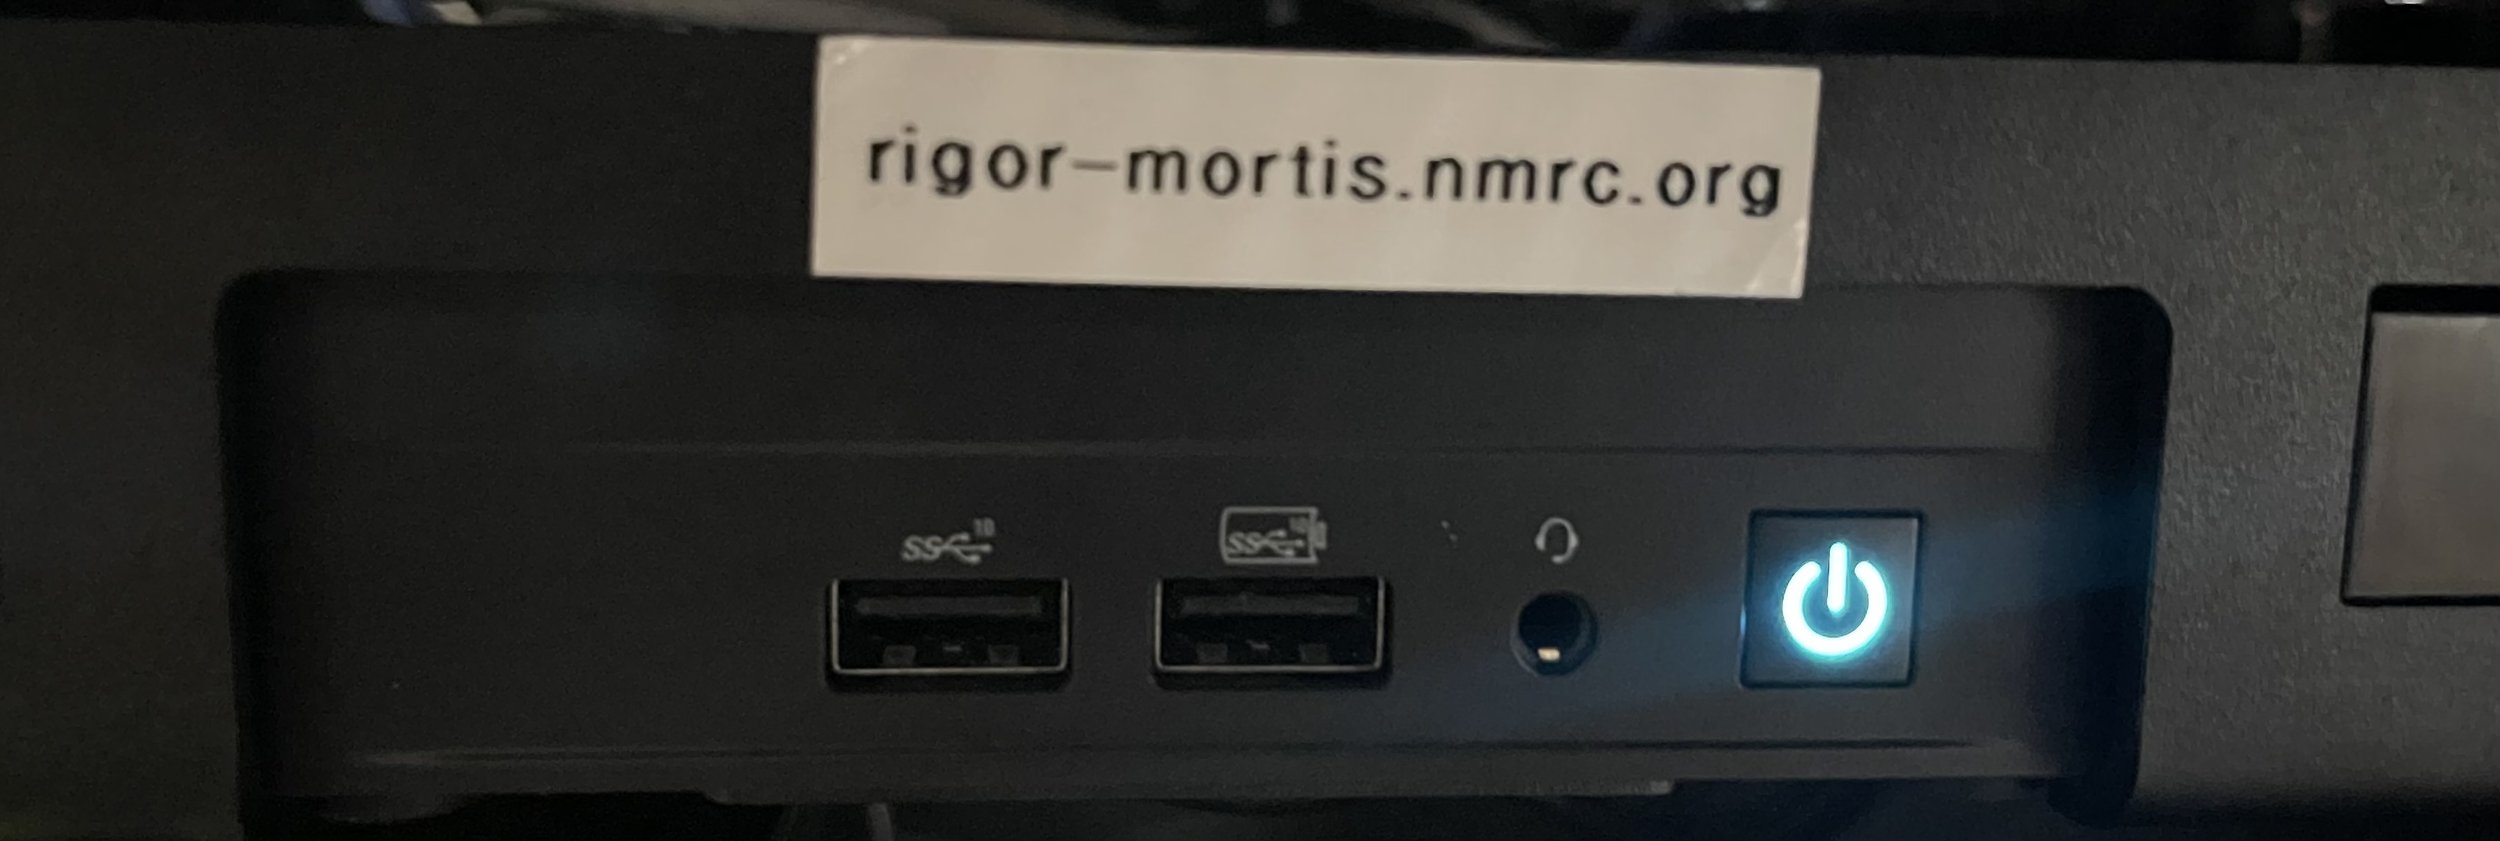
Rack mounted and ready to rock.
That’s a wrap
So that concludes my Mastodon migration process. As promised, here are the sources I used for putting these instructions together, a lot of the main differences were things like not using apt-key add as that is deprecated with apt, plus just having everything laid out in advance was nice. Yes I wrote up these instructions before doing the third attempt, simply to get my head wrapped around the process and prevent errors more errors.
Original loading instructions for a first-time install: https://www.linuxbabe.com/ubuntu/how-to-install-mastodon-on-ubuntu
Migrating a server to new home: https://docs.joinmastodon.org/admin/migrating/ (this includes database migration instructions if you’re going to use pg_dump).
Increase the toot size: https://www.draklyckan.se/how-to-increase-the-character-limit-for-toots-in-mastodon/